|
|
|||
|
ThunderSqueak Regular user 126 Posts 
|
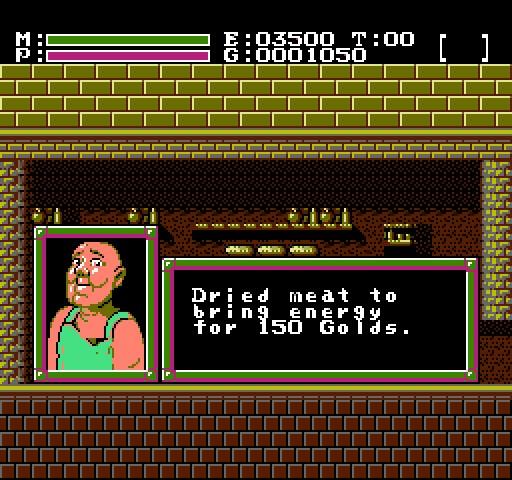
So, our journey begins like most journeys.... a young girl heads off to the outside world, in search of the great and powerful wand. She finds a shop along the way that sells wands, however the shop keep looks at the poor girl and with his gruff exterior and piping voice says...
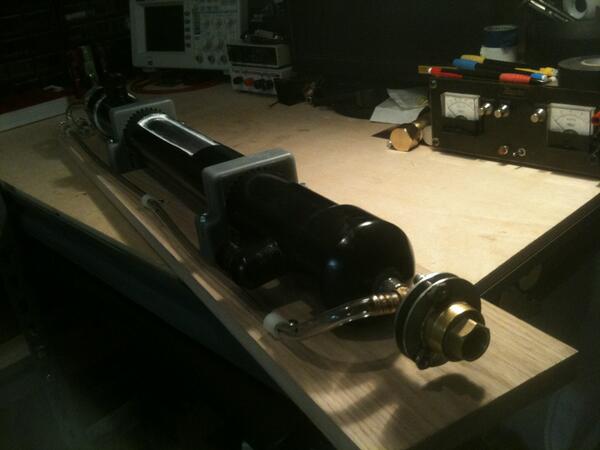
 The poor girl saddened by remembers that she knows how to make things, and that she can make a wand just as good as any in that man's store. So she heads off into the wilderness.... and walks through the spooky woods...  and finds a place of wonders... it is called "generic home improvement depot", in the past she built such great things from findings from this huge cavern... such as a gas excited laser or go carts, and even a new BBQ grill!  So she sets off to collect her supplies... an 3/8" aluminum rod, some 3/8" I.D. steel spacers, JB weld, and 3/4" dual wall heat shrink!     She then heads home .... along the way she is very hungry, but she spent all her money on the above components and the evil shop keep in his piping voice says again...  So she returns home and eats ramen and with her earlier acquired items begins crafting her new wand. Using her tools...  she begins work, things are shaping up nicely, don't ya think?  she then roughs up the aluminum rod with some 120 grit sandpaper and also does the same to the inside of the bushings.... after which she JB welds them in place and lets it cure overnight..  Then using the heat gun and a sharp knife she places the heatshrink over the middle sections of the new wand, having cut the lengths just a little bit longer than needed so that she can trim it later with a sharp razor blade.  When the girl was happy with her new wand she decided to take a picture of it to share with all the other people who also might want a wand but not have enough golds.  And thus a girl gained a shiny new wand for a minimum of golds. The end. |
|
gimpy2 Special user 960 Posts 
|
Nice job on the wand and the post. don't think we have had the pleasure of seeing something like this posted in the workshop. You are without question very talented.
Gimpy
www.gimpysmagic.com |
|
Michael Baker Eternal Order Near a river in the Midwest 11172 Posts 
|
Magic smiles down on the girl... and many doors open.
~michael baker
The Magic Company |
|
George Ledo Magic Café Columnist SF Bay Area 3045 Posts 
|
I agree. We don't see a post like that here very often. And beautiful work, too. Thank you.
Oh, BTW, I notice you didn't build in a little compartment for a hedgehog spine... 
That's our departed buddy Burt, aka The Great Burtini, doing his famous Cups and Mice routine
www.georgefledo.net Latest column: "Sorry about the photos in my posts here" |
|
ThunderSqueak Regular user 126 Posts 
|
Quote:
On Mar 15, 2016, George Ledo wrote: That is for another story 
|
|
ThunderSqueak Regular user 126 Posts 
|
This is the stand I made for the new wand last night, I am currently considering how I want to paint it... in a black or maybe in some other color... I do have a hammered copper or maybe a granite paint. I like stands that keep things out in easy reach, I am more apt to actually use said item. (something I learned while learning to play the guitar... keep one next to the bed, keep one next to the PC, keep one in the living room).
 The stand itself is pretty simple to make on a 3D printer, just print out the parts and use some leftover pipe or dowel or aluminum stock (in my case) and glue them in. I ended up heating the aluminum up with a butane torch and pushing them into place. The plastic seals around the bar and becomes very solid when cooled. Total print time, 35 minutes, total material used, 9g of PLA. |
|
Cliffg37 Inner circle Long Beach, CA 2491 Posts 
|
Cool stand. I like it a lot. Is the plastic strong enough and sturdy enough to drill through and mount to a wall? Or will it just sit on a desk?
Magic is like Science,
Both are fun if you do it right! |
|
ThunderSqueak Regular user 126 Posts 
|
Quote:
On Mar 15, 2016, Cliffg37 wrote: That depends on the infill, for instance if I need something I can stand on, I would print at 100% infill and it would be a solid piece. Though to be honest, you really should never need to drill something that you design on a 3D printer, if you need to make a major structural modification then you did not design the part correctly in the CAD software. All of the features you want should be designed in from the beginning. If you forgot something, it is generally easier to just modify the file and reprint it. |
|
ThunderSqueak Regular user 126 Posts 
|
And so the girl made a new home for her wand, it sat far above the lesser wand that she had purchased long ago from the piping voiced shop keeper.
The girl looks at the wand in its new throne and remembers another tale.... "Between the time when the oceans drank Atlantis, and the rise of the sons of Aryas, there was an age undreamed of. And unto this, Conan, destined to wear the jeweled crown of Aquilonia upon a troubled brow. It is I, his chronicler, who alone can tell thee of his saga. Let me tell you of the days of high adventure!"  So the happy girl wanders off in search of another form of magic, that of the movies. the end |
|
gimpy2 Special user 960 Posts 
|
Love The paint. What did you use?
Have you thought of building a Pop Hayden teleportation device ? might be the best ever. After all the girl needs the power to do that.
Gimpy
www.gimpysmagic.com |
|
ThunderSqueak Regular user 126 Posts 
|
Quote:
On Mar 16, 2016, gimpy2 wrote: Yeah, I just watched that on youtube XD I was laughing pretty hard XD I could make a pretty nifty device I imagine, I used to design and build guitar amplifiers (tube amps) and still have lots of old leftover tubes from that 
As far as paint, I used a hammered copper rustoleum paint. That stuff is great for covering the striations on a 3D print if you are too lazy or unable to do some sort of vapor bath to smooth it. First, far away do some spritzes with the paint to lay down texture, then when happy with that do a light over the top coat. |
|
ThunderSqueak Regular user 126 Posts 
|
I decided to use some of the remaining aluminum bar stock and heat-shrink to make another wand. The heat-shrink this time is a 3/8 adhesive dual wall instead of the 3/4" adhesive dual wall. I slipped some brass pipe over the ends first and with a pipe cutter made some nice grooves, these grooves also dug into the aluminum bar beneath. Then with some sandpaper (600 grit) I polished it up and made the ends shine. Apply heat-shrink to the middle section and line it up carefully so that it just touches each end as it shrinks and done.
I used a set of calipers to make sure both ends matched. I am going to hit the brass ends with some clear coat after a good polish. This should help keep things shiny and sort of "cap" it all off 
  I considered doing some inlay in silver and etching some designs... maybe in a future version. |
|
Michael Baker Eternal Order Near a river in the Midwest 11172 Posts 
|
Well done!
~michael baker
The Magic Company |
|
Wizard of Oz Inner circle Most people wish I didn't have 5180 Posts 
|
An excellent story and an excellent ending. You no doubt had your game set to "difficult" and earned a lot of achievement points.
Pay no attention to that man behind the curtain.
|
|
friend2cptsolo Elite user Spent all this time on the Cafe' and all I have to show for it is 445 Posts 
|
Great construct.
I wanted to take some pictures of the wand I made in which I used those same tips you used in the first wand posted; I did use a larger diameter wooden dowel and then sanded it down to the same level as the tips and found a tiny silver plug for the ends. I really like the tips you made on that 2nd wand where you used the pipe cutter to score the grooves, that adds a very nice touch indeed. In fact I sold some of my wands on EBAY for a little while, people actually liked them and bought them but EBAY and PayPal take soooo much in fees it just eats away at any profit you make and you can't charge too much then no one will buy. |
|
ThunderSqueak Regular user 126 Posts 
|
Yeah, auctions sites do that, but sometimes they are the best way. I may soon be putting up my last gen VR system up for sale soon and am cringing at the thought of how much they will take off the top

|
|
friend2cptsolo Elite user Spent all this time on the Cafe' and all I have to show for it is 445 Posts 
|
Another side note: is that a wand made mostly of wood like the one built is so less "bulky" feeling as these fancy store bought one. The weight of the wand exsists on the tips,which are metal. To me it makes spinning the wand easier.
|
|
ThunderSqueak Regular user 126 Posts 
|
I used aluminum for the majority of the wand, per the images. The weight is still in the ends, it just means that I don't need to worry about warping and it could possibly make one heck of a weapon in a pinch <.<;;
|
|
majik_1 New user 95 Posts 
|
How long were these wands?
|
|
ThunderSqueak Regular user 126 Posts 
|
As long as you want? that's the point of making something yourself

I made mine a bit over 13 I inches as that seemed a good measurement, just felt right. |


